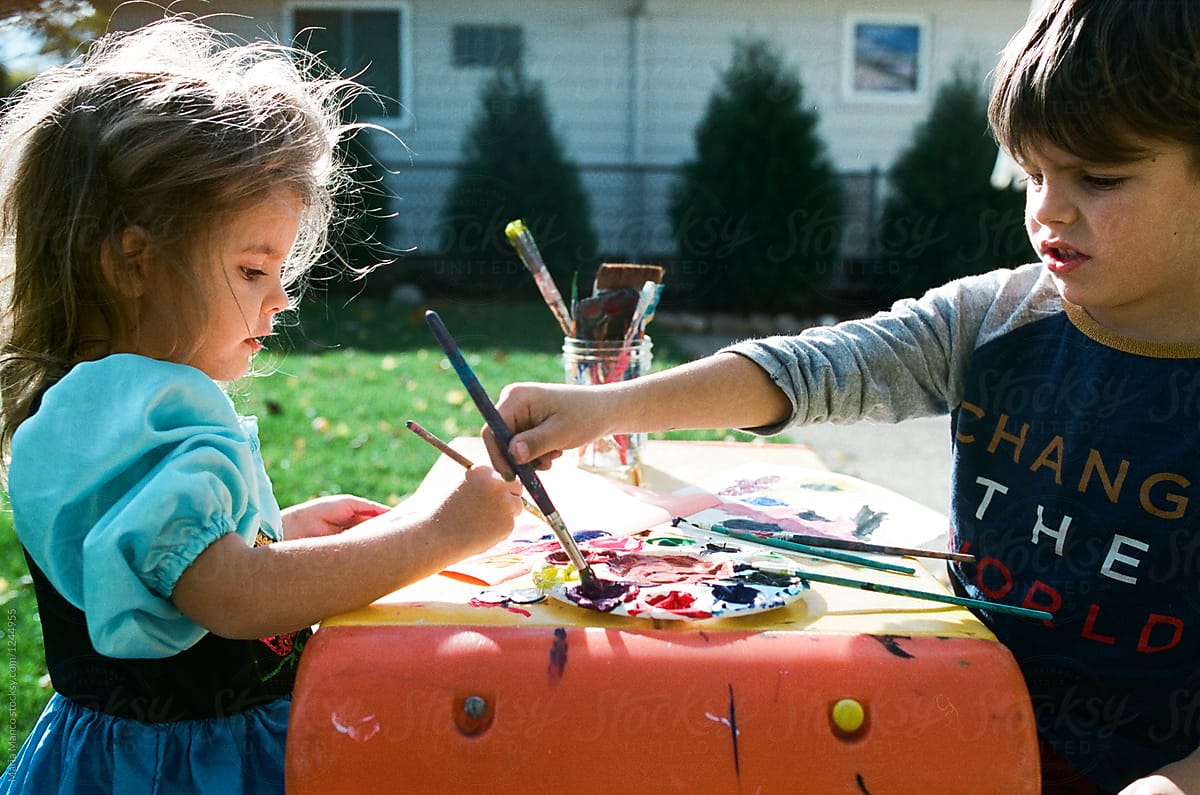
¿How to hold the pen correctly and how you can help children prevent the 'disorder' to start writing? Dr. Angela Zerbino, specialist in speech therapy, explains the best steps to follow.
As Zerbino says, learning how to handle a pencil does not have to be done in all children at the same time. Each child has a speed of learning and sometimes they go faster in some aspects and slower in others. It should always be done with respect and gradually. In this way decreases the risk of dysgraphia.
1. Take the pencil correctly
Children do not learn to hold pens correctly from day one. In fact there are usually a few steps before they don't learn to do it right. Now we explain what these are steps :
- Initially, use the hand, grasping the pencil with the whole palm of the hand (without using the fingers). This limits the child's movements and the field of vision of the mark you make on the blade. He makes sudden movements and does not see the result of what he does until he raises his hand.
- The second step is usually bend the elbow. This allows you to do more of a variety of lines because it moves your entire forearm.
- Normally, the next step is to gradually grasp the pencil with your fingers.
- Finally, he reaches the thumb-finger opposition with which he already gets control of what he wants to draw. They usually hold the pen sideways with the middle finger. The pincer grip, about 2 cm from the tip, represents the right grip that the child must achieve.
2. Posture
The correct posture to observe and teach the child to hold the pencil is:
- feet flat on the ground,
- sitting comfortably,
- torso upright and slightly leaning forward, but not leaning on the table,
- relaxed shoulders,
- both elbows on the table,
- the hand that does not write must be "resting", open on the paper (this is how they hold the sheet) and under the writing hand.
3. Avoid "alterations" when you are writing
La presión exercised or the way of holding the pencil are determinants for a correct graphic execution. Many children do not quite do it well and it leads to a dysfunctional grip, causing them not to know how to write or draw. This can and should be fixed.
Hold the pencil with your fingers in the shape of a "flat clamp"
The lack of flexion of the thumb and index fingers that occurs when children hold the pencil with their fingers straight, without flexing (flat, like a clothespin) leads to a lack of motor power and instability of the pencil.
Write from above the line of the drawing or letter
The tendency to draw outside the line of the drawing must also be corrected. This occurs because the wrist bends inward a lot. It is more common in the case of left-handed children. It can be solved by folding the blade to the right.
Press the blade too hard
Regarding the pressure exerted on the blade, if you see that it is excessive, you can put cardboard under the sheet or use very thin papers so that it breaks if the child presses too much. This way you will realize the force that it exerts and you will be able to regulate it until you achieve that the blade does not break.
Press the blade too little
On the contrary, if the sheet does not grip well, you can place a sheet of sandpaper or an uneven surface under the sheet that you use to paint to increase resistance to writing movements. However, you should be instructed to try to put more pressure so that you do not need to put that "plus" under the paper you paint.
4. Exercises
It is important to train a harmonious development of global motor skills, fine motor skills, body schema, spatial orientation and oculocontrol coordination since kindergarten. Here are some exercises to propose to the children who will help them on this path:
- Drill global: throwing and catching a ball, body awareness exercises, etc.
- Fine motor: cut with scissors, follow mazes with a pencil, digital grasp of objects, etc ...
- Eye-hand coordination exercises: join two dots, keep the pencil at the left point and gaze fixed on the right point where the pencil has to end, make a straight line (in this way it is the eyes that learn to guide the hand and not the other way around).
- Pictographic and drawing exercises.
- Exercises rectilinear and geometric paths.
- Pre - graphic exercises: circular movements, garland movements, etc ...
5. The tools you use are important too
Initially it is better to use pencils triangular, ergonomic and large. Thus they have the shape of the 3 support points (thumb, index and middle). There are erasers that are put on pencils and that have this shape.
The child must be able to use different materials (brush, chalk, pencils) to experience the different tactile sensations and the pressure differences that each one requires.
6. Left-handed children
Everything we have said applies to lefties as well. Even the erasers that can be added to pencils, exist for both right-handed and left-handed.
