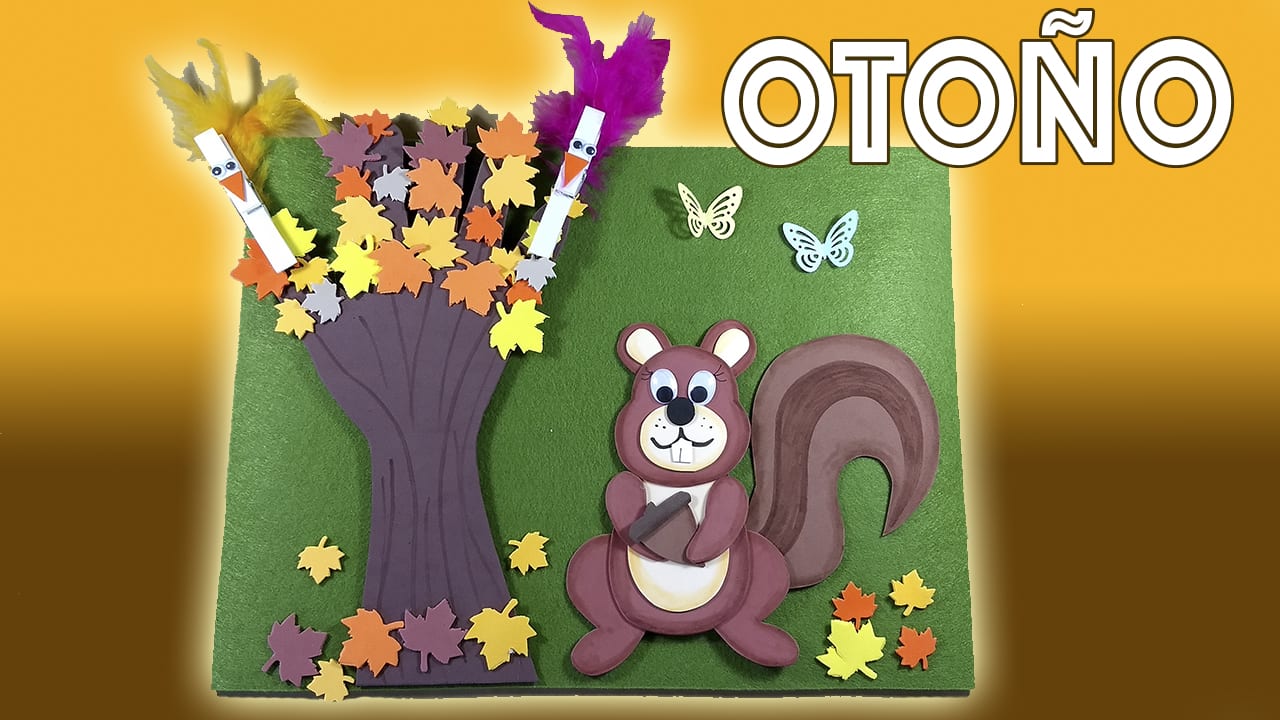
The autumn has arrived and that means that the world is filled with warm colors. The leaves, the landscapes, everything is flooded with these tones. In this post I am going to teach you how to do 3 crafts by otoño, perfect for decorate your house or your class and to do them with children, they will surely love them.
Materials to make fall crafts
- Colored eva rubber
- Scissors
- Glue
- Mobile eyes
- Markers
- Felt fabric
- Eva rubber punches
- Wooden clothespins
- Fountain Pens
Procedure for making autumn crafts
As I told you, this time I bring you 3 ideas to carry out a final work that is beautiful.
Let's start with the eva rubber squirrel.
Chipmunk
To start you have to cut out all these pieces to train our squirrel. You can choose the measurements you want to adapt them to your needs and also the shades of brown that you have. I advise you to be different so that it looks much better.
- Before assembling the squirrel, with a brown marker and a cotton bud, I am going to a blur in the outline of all the pieces.

- I'll start with the head mount: muzzle, nose, eyes and ears.

- Then I will continue with the rest of the body, hitting the belly above the trunk and to the sides the legs.
- Then I will join the arms and I will place in the hands The acorn that our squirrel is going to eat.
- In the muzzle with a black permanent marker I am going to draw the lines of the mouth, a few dots and I will place a tooth. I will also do tabs.


- To finish the squirrel I will hit him The tail in which I have made some lines with a marker to give it a better finish.

Tree with dry leaves
Now we are going to perform the autumn tree. To start you need any cardboard you have at home.
- Put your hand and draw the outline almost to the elbow.
- Cut out this figure with scissors and also draw it on a piece of brown eva rubber.

- Cut out the piece and glue one over the other to make it more consistent.
- With brown marker make him the details to the tree trunk.

- Use the sheet punchers to create many with autumn tones such as orange, brown, different types of yellow ...
- Gradually stick the leaves on the branches of the tree and on the ground as you like.
- And so the autumn tree is finished.

birdies
The tree without any kind of living being is very sad, that's why I teach you how to make these little birds super easy and that they are that beautiful.
- Use wooden clothespins of those you have at home.
- put two moving eyes on the side and an orange triangle that will be the bird's beak.
- Then paste a few feathers In the back. You can use the colors that you like the most.
- You can now place the birds on the autumn tree.


Final assembly
Once we have all the elements of this assembly (squirrel, tree and birds) we are going to place it to be able to decorate any corner of the house.
- Ready a board or a cardboard flined with felt or eva rubber.
- Place the tree with the birds on top and distribute some leaves on the ground to give the impression that they have fallen.
- The squirrel will go on the ground eating the acorn and in the sky you can put some butterflies made with paper punches.


Ready, we already have our autumn scenery finished, perfect to give a very original touch to a class, next to the fireplace or your room.
I hope you liked it, see you in the next idea. Bye!!


