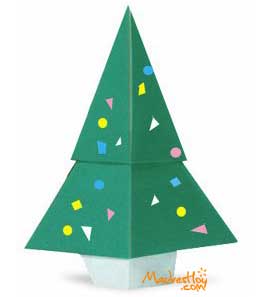
A few weeks ago, we told you about the many benefits of making origami. To apply these benefits, nothing better than to make a nice Christmas tree made with this technique. You dare?
It's very simple! You only have to follow the step by step of the movements and folds of the paper that we will show you after the jump.
Note: for you to understand the diagram, the dotted lines mean where you should turn and the movement of said fold is directed by the arrows.
Now you have no excuse. On this rainy day, sit your children down and practice origami. By the way, they are making the Christmas decoration to show it off on December 8.
- Fold on the dotted lines to find the center.
- Fold on the dotted lines.
- Back.
- Fold on the dotted lines.
- Fold on the dotted lines.
- Open the pocket and flatten.
- Fold.
- Back
- Paint and voila!
If you don't understand the diagram, do click here. to see the explanatory video.


I need more Christmas origami like stars etc.